

Creating a compelling mockup is essential for showcasing your design work—whether for websites, apps, branding, or print materials. In this comprehensive guide, we’ll walk you through the full process of creating mockups using free available resources. From selecting the perfect template to fine-tuning your final presentation, here’s how to craft professional mockups that make an impact.
1. Choosing the Right Mockup Template
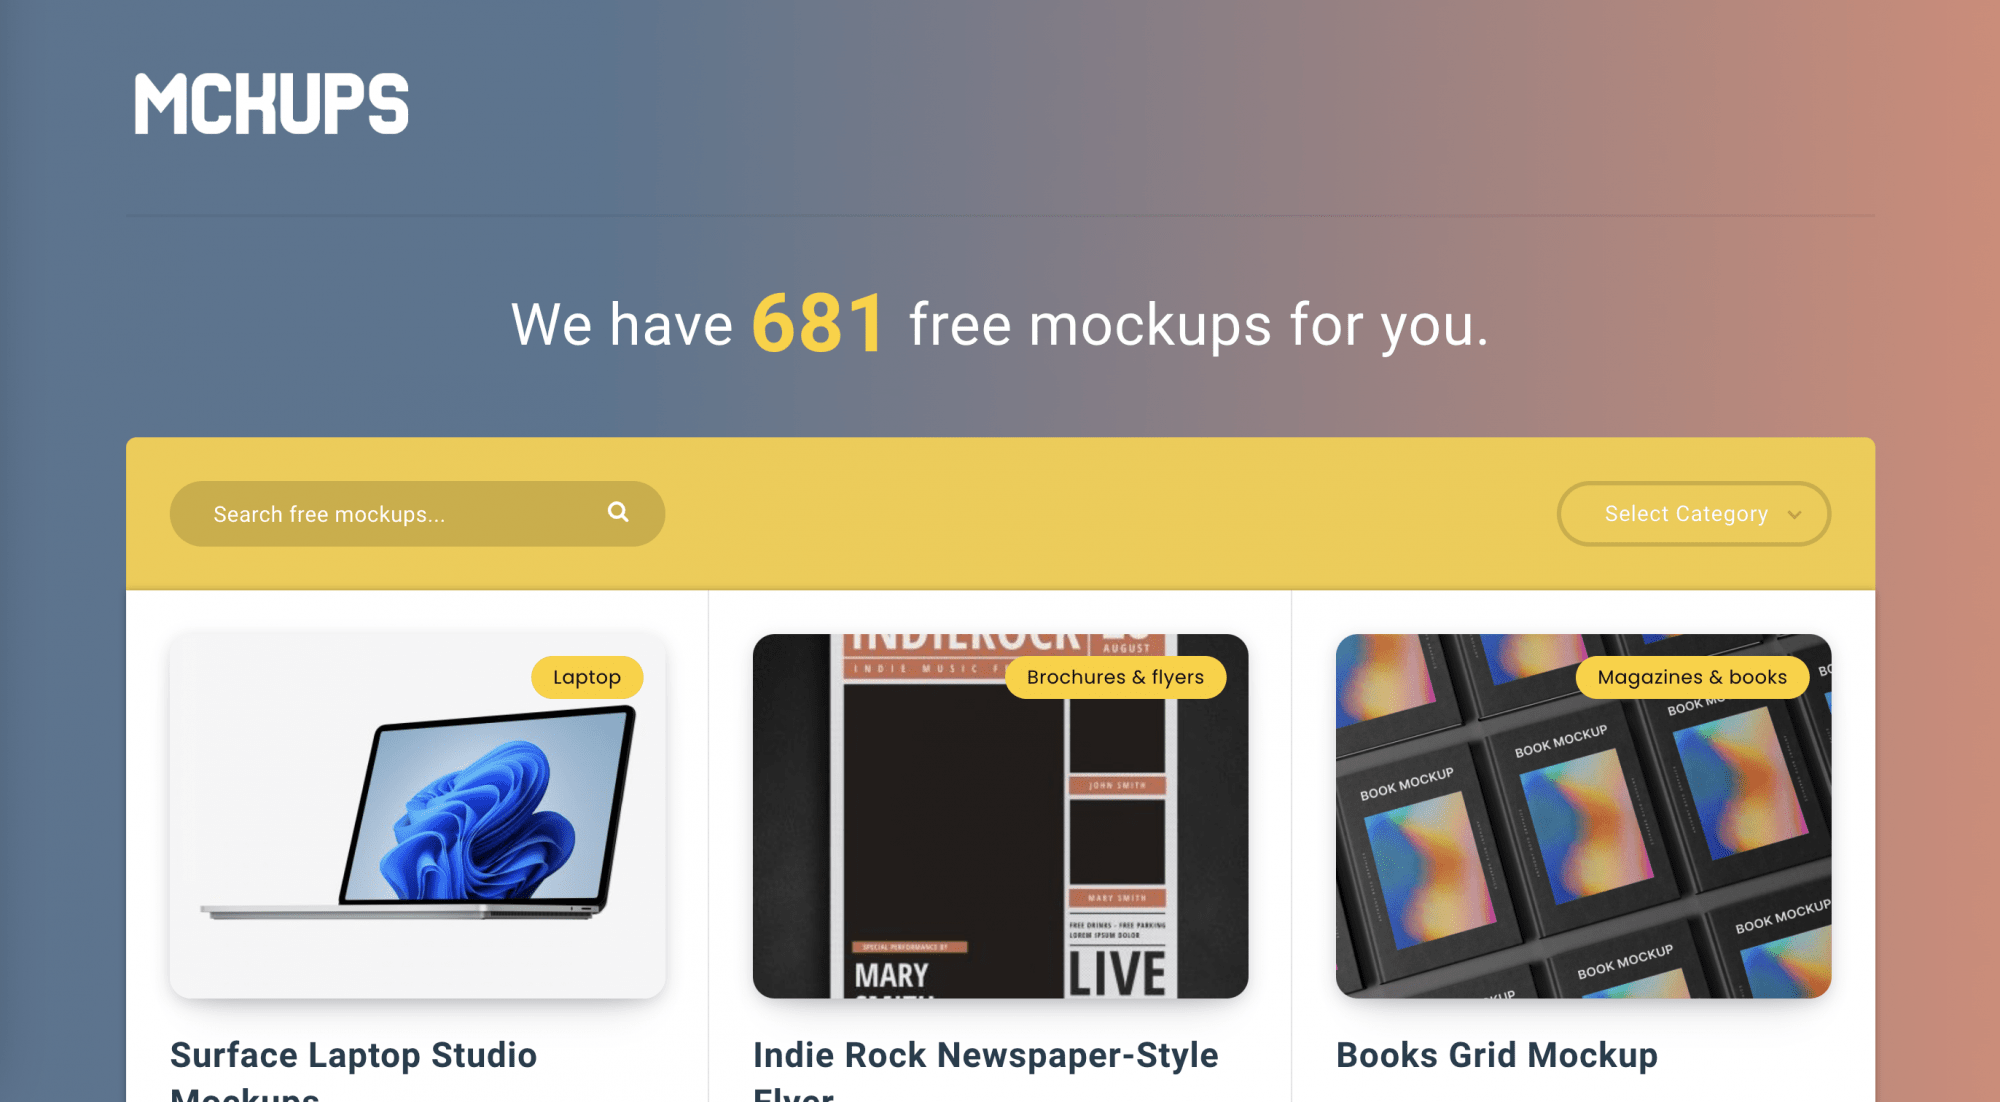
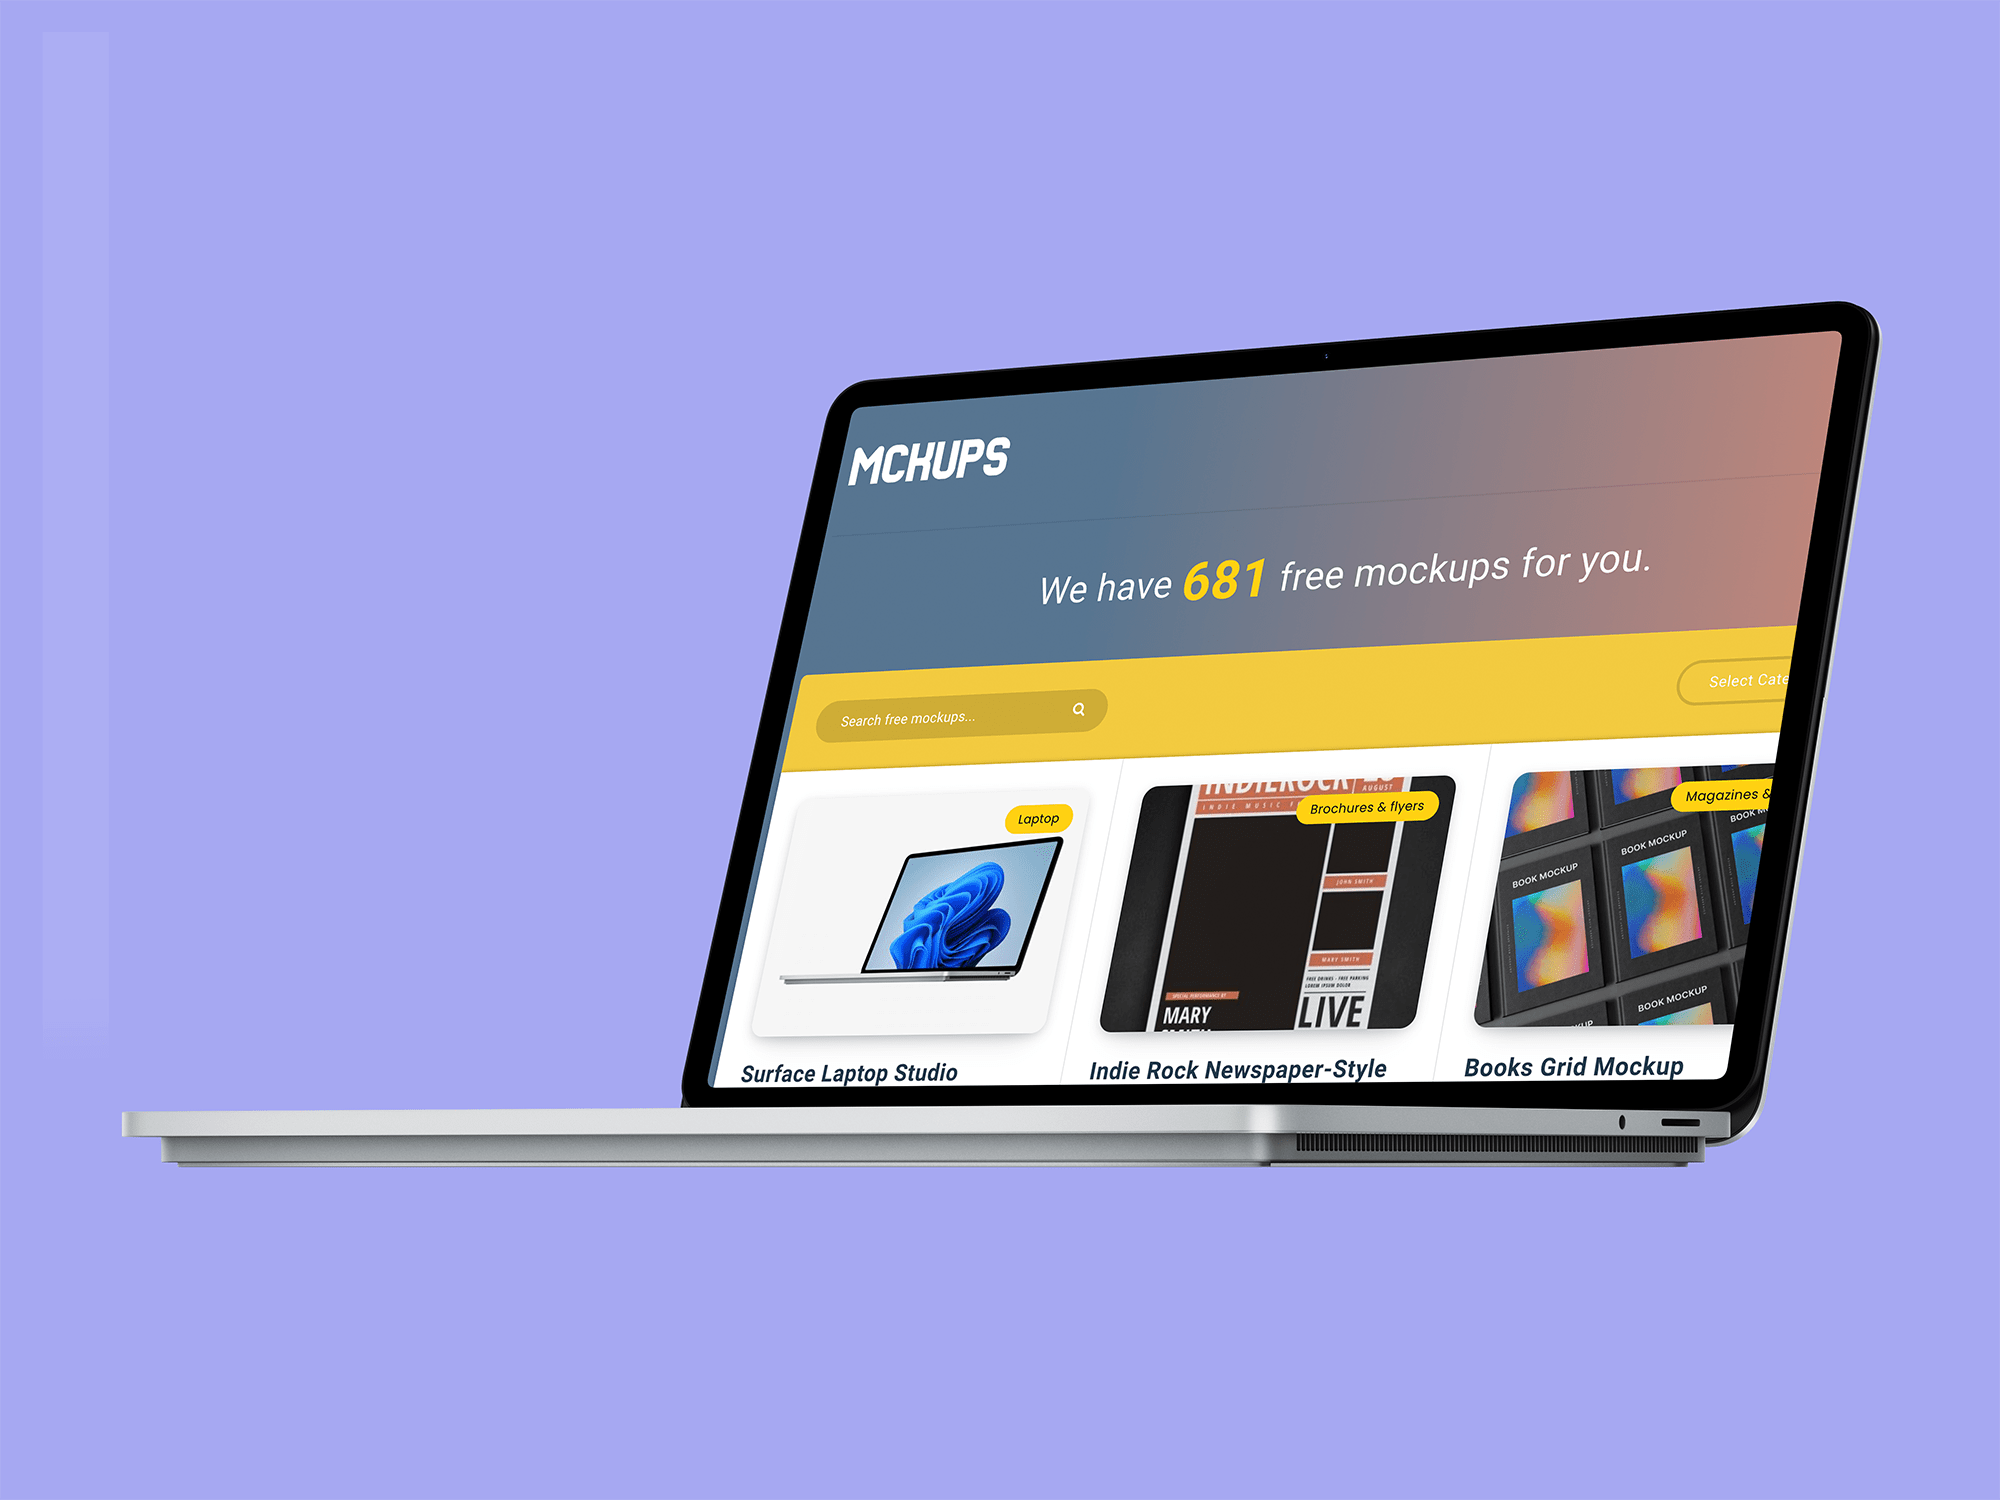
The first step in creating a mockup is selecting an appropriate template. When browsing through the extensive collection of free mockup templates, keep the following factors in mind:
- Device or platform: Choose a template that matches the device or platform your design targets.
- Style and orientation: Select a style and layout that complements the visual feel of your design.
- Customizability: Look for templates that allow you to easily modify colors, backgrounds, and elements.
- File format: Make sure the mockup is compatible with your preferred design software, such as Adobe Photoshop.
Before finalizing your template choice, it’s also smart to verify the originality of any images you plan to use. Protect your work and avoid copyright issues by running a quick reverse image search. This simple step ensures your mockup presentations stay professional and secure.
2. Preparing Your Design
Before placing your design into the mockup, take the time to:
- Organize your layers: Use clear naming conventions and group similar layers in your design file.
- Optimize resolution: Ensure your design is high-quality and matches the mockup’s dimensions.
- Export in the right format: Save your design as PNG, JPEG, or another compatible format for easy placement.
A little preparation here will make the final customization process much smoother.
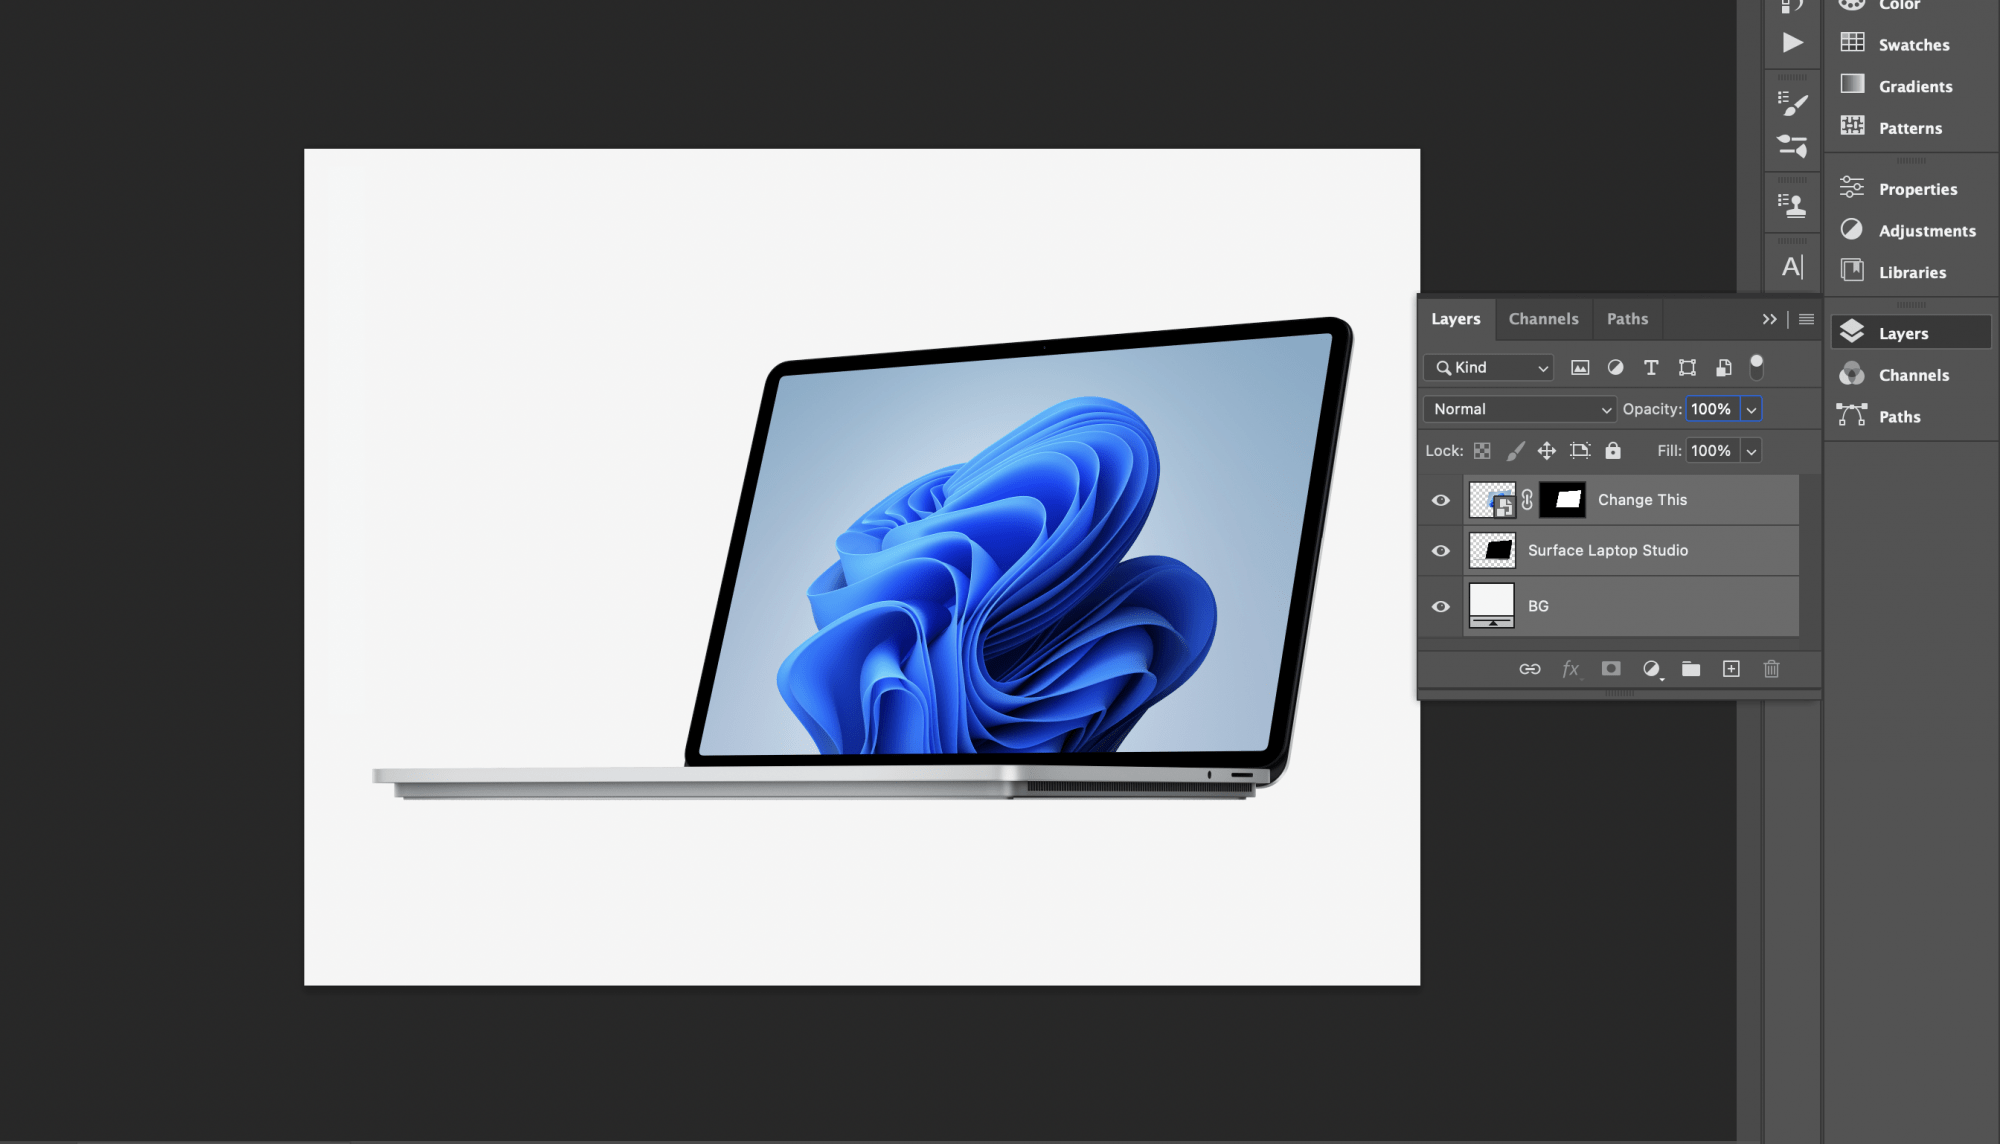
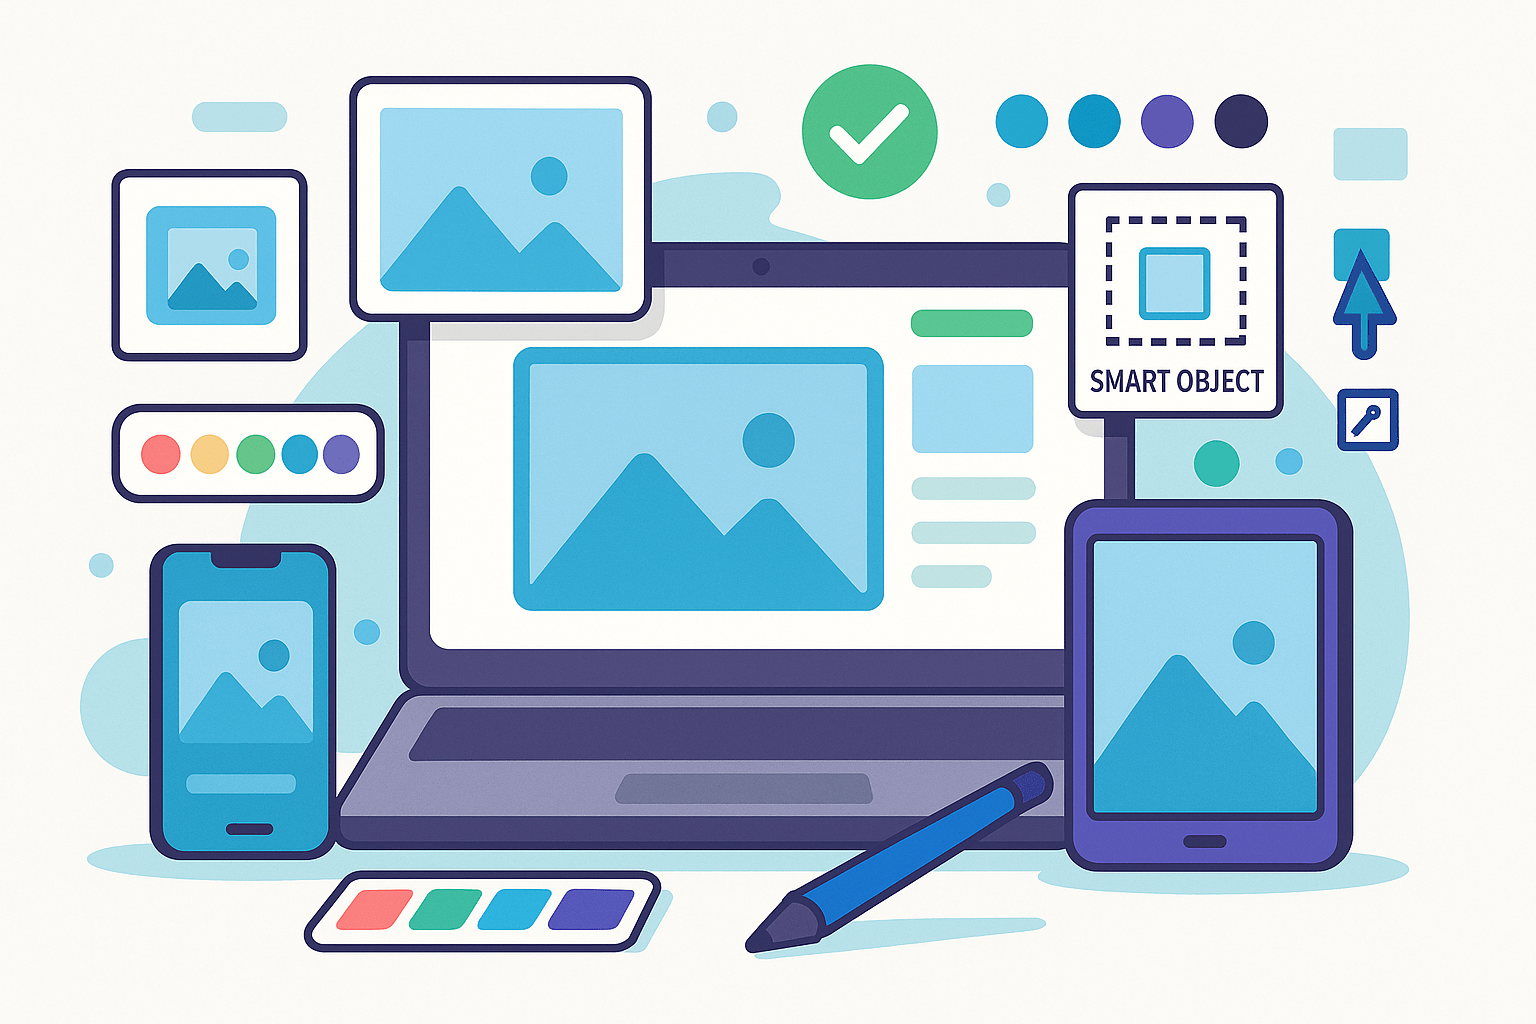
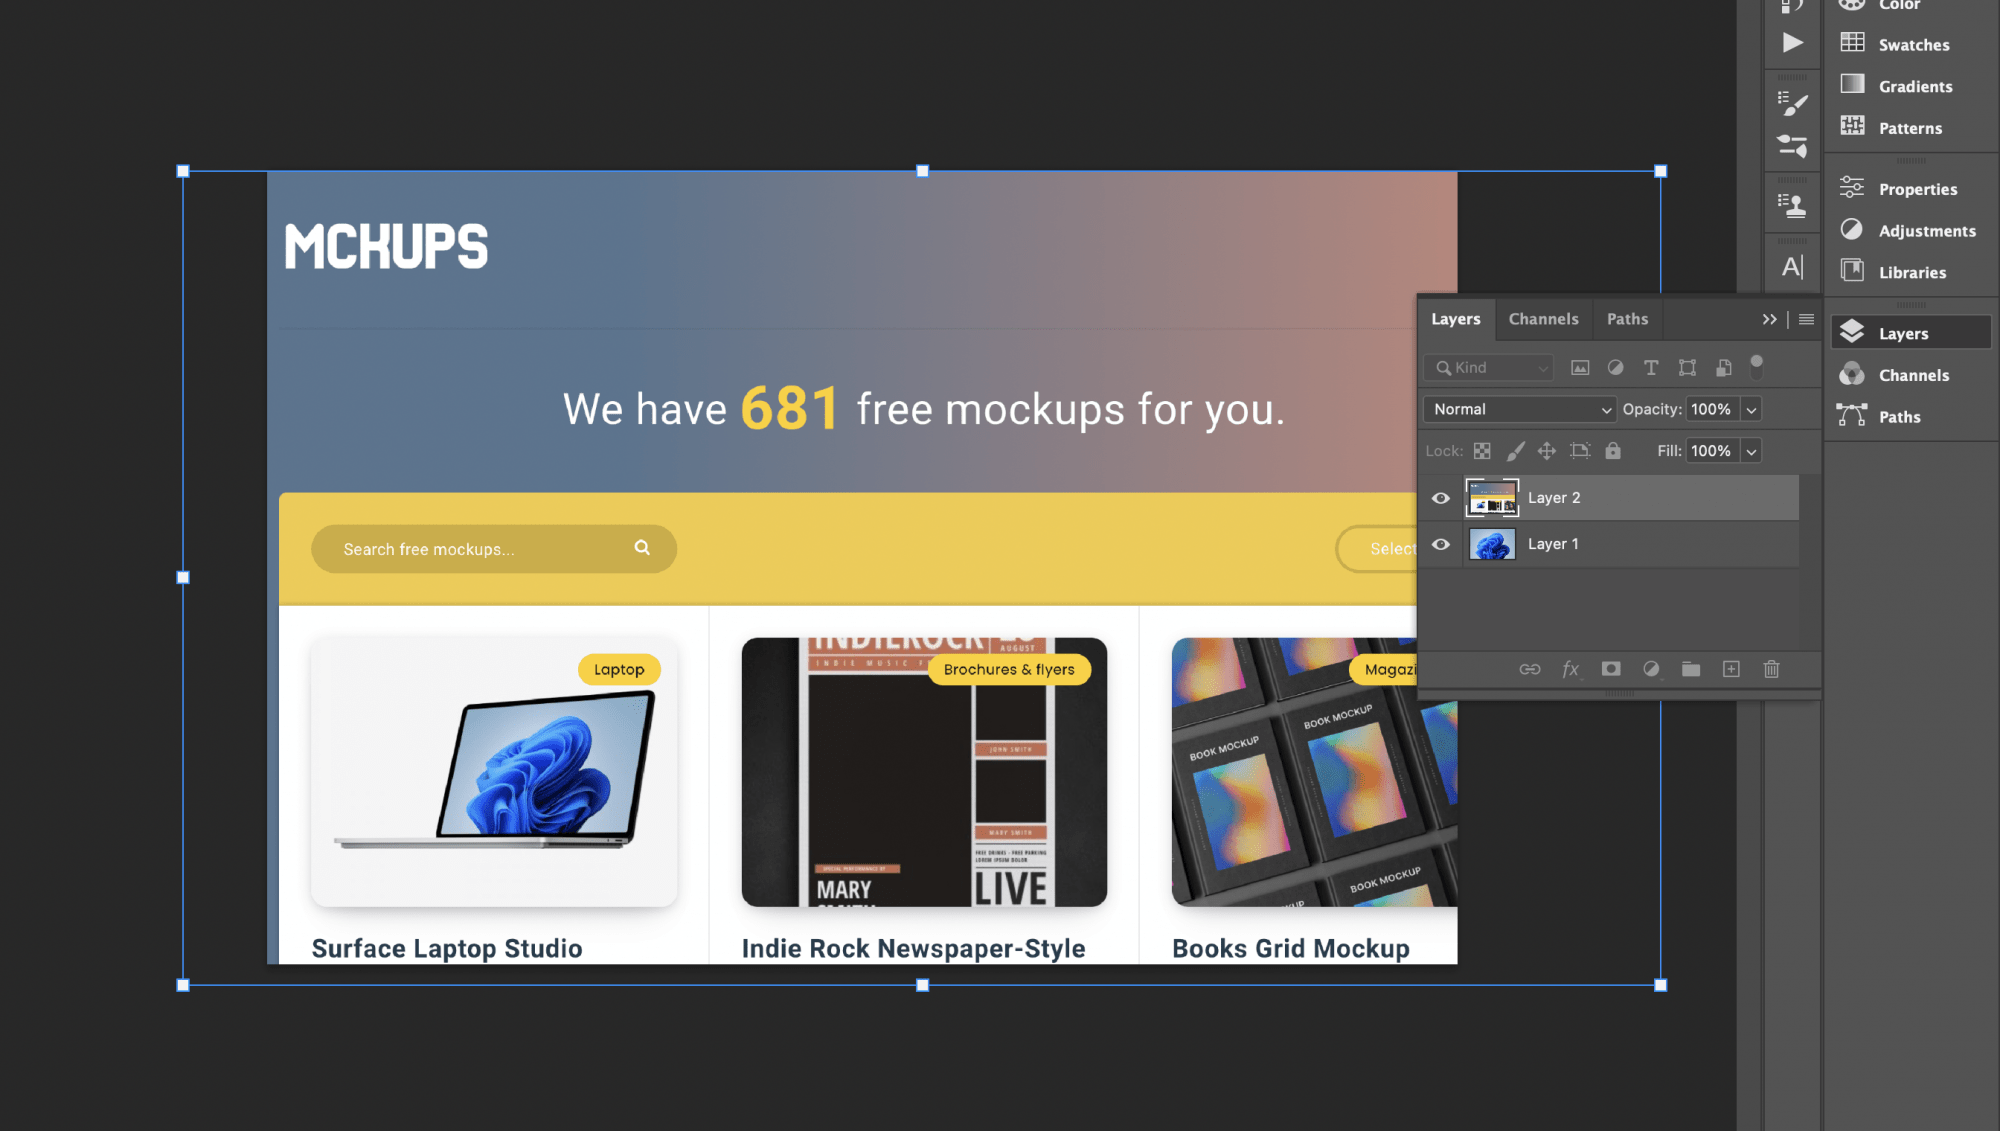
3. Customizing the Mockup
With your design ready and your mockup template selected, it’s time to customize. Here’s how to do it effectively using Photoshop or similar design software:
- Import your design: Place your artwork into the designated smart object layer in the template.
- Adjust positioning and scale: Ensure your design fits naturally within the mockup frame.
- Customize colors and backgrounds: Tailor the mockup environment to highlight your design.
- Add final touches: Insert relevant logos, text, or extra elements to complete the scene.
Take advantage of smart layers to make non-destructive edits and keep your original design intact.
4. Perfecting Your Presentation
A polished presentation can set your work apart. Keep these best practices in mind:
- Use high-resolution images: Make sure your exported mockup is sharp and clear, whether for digital or print use.
- Showcase multiple angles: Display your design from different perspectives to create a more complete story.
- Create a cohesive scene: If you’re using multiple mockups, ensure they follow a consistent visual style.
- Utilize lighting and shadows: Well-placed shadows and lighting effects add depth and realism to your presentation.
Pro tip: If you’re planning to showcase your mockups on social media, check out our related guide on how to use smart layers with free mockups.
Conclusion
By following this step-by-step guide and using the free mockup resources available, you’ll be able to create high-quality, professional mockups that captivate your audience. Remember: success starts with choosing the right template, preparing your design, customizing thoughtfully, and presenting beautifully.
Happy designing!