


Are you tired of spending hours creating mockups for your projects? Look no further! Mckups.com is your ultimate destination for a vast collection of free mockups that will streamline your design process. In this tutorial, we will guide you through using Smart Layers in Adobe Photoshop to create stunning mockups using our free resources.
Before we begin, if you don’t have Adobe Photoshop installed, download it here or subscribe to Adobe Creative Cloud for access to a suite of powerful design tools.
Step 1: Explore the Mckups.com Collection
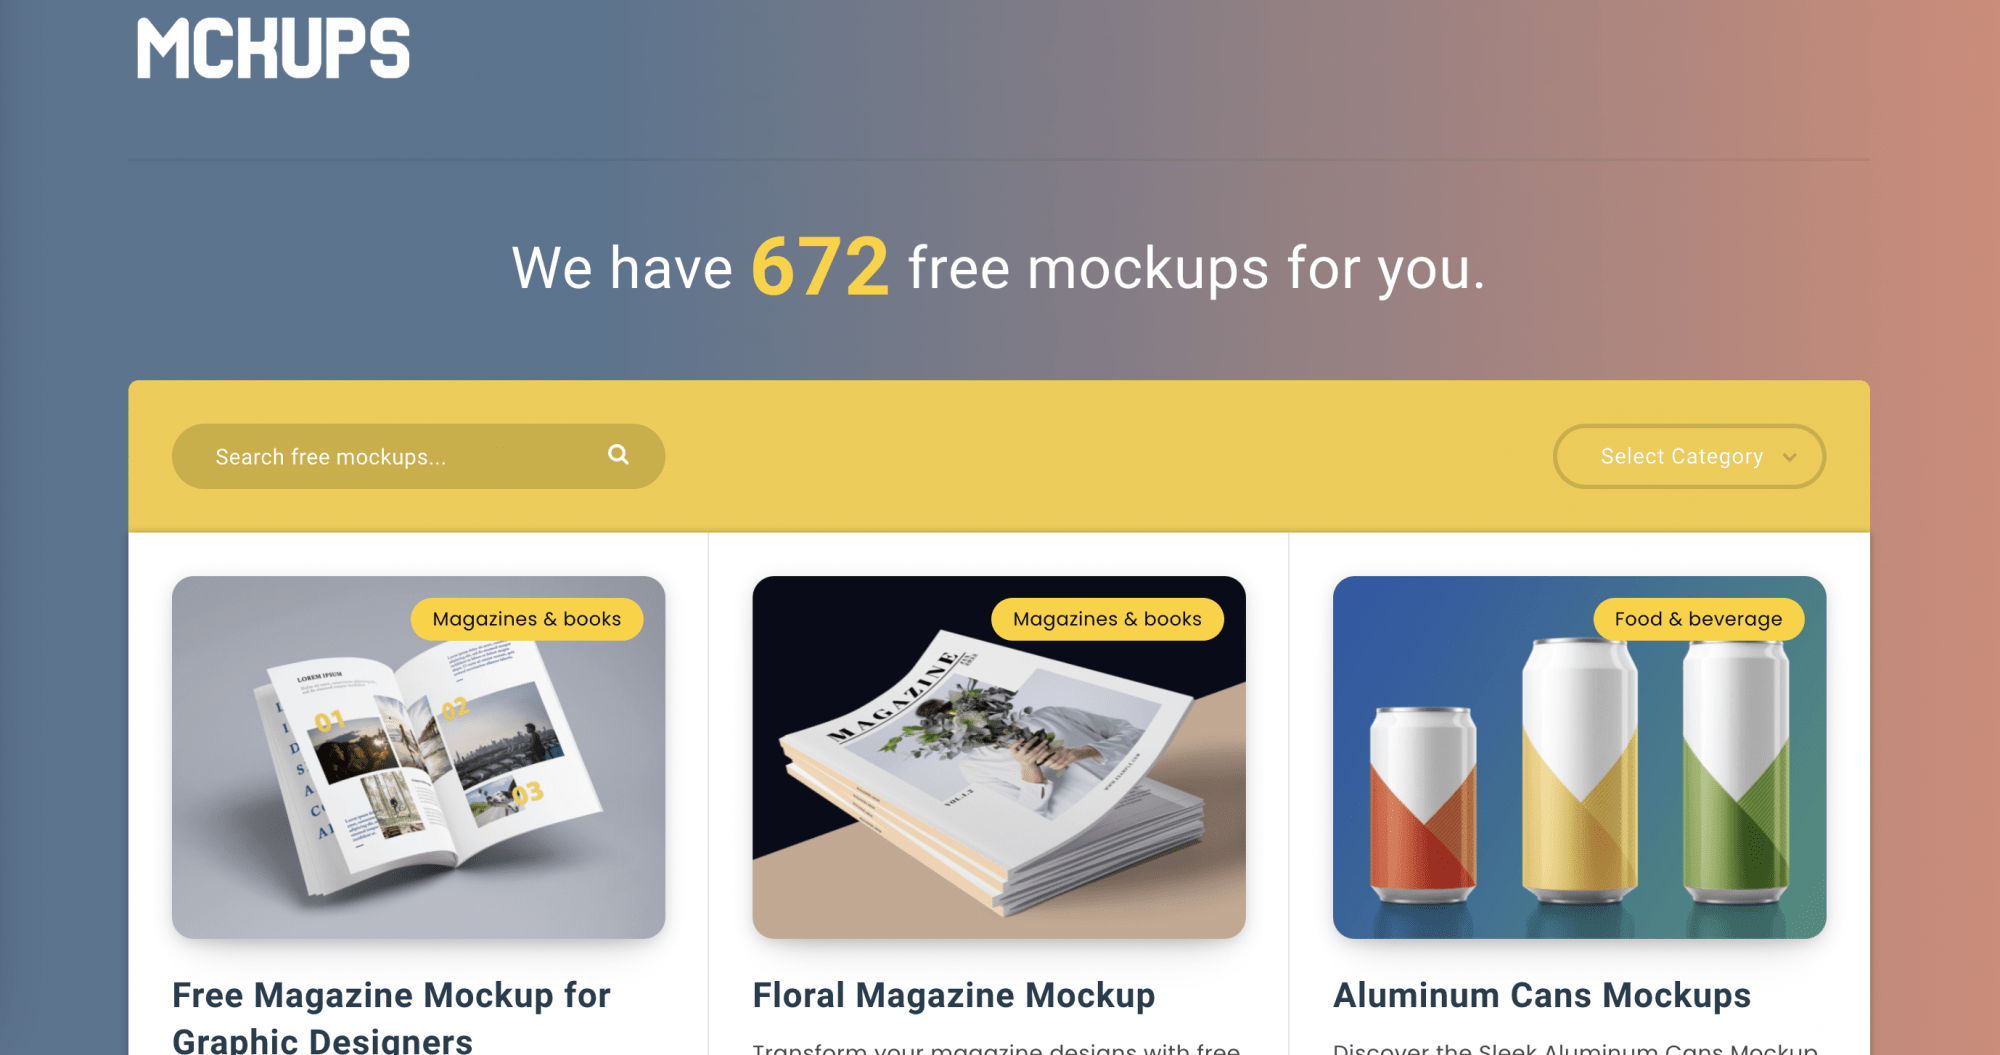
Start by browsing our extensive collection of free mockups to find the perfect template for your project. Our library includes various categories like devices, apparel, packaging, and more. Select and download your desired mockup file.
Step 2: Open the Mockup in Adobe Photoshop

Launch Adobe Photoshop and open the downloaded mockup file. You’ll find organized layers and folders, making it easy to edit and customize the mockup.
Step 3: Understanding Smart Layers
Smart Layers are a powerful feature in Adobe Photoshop that allows you to edit and manipulate non-destructive, resizable, and editable objects within a layer. Smart Layers preserve an object’s original data, making it possible to apply changes without altering the source file.
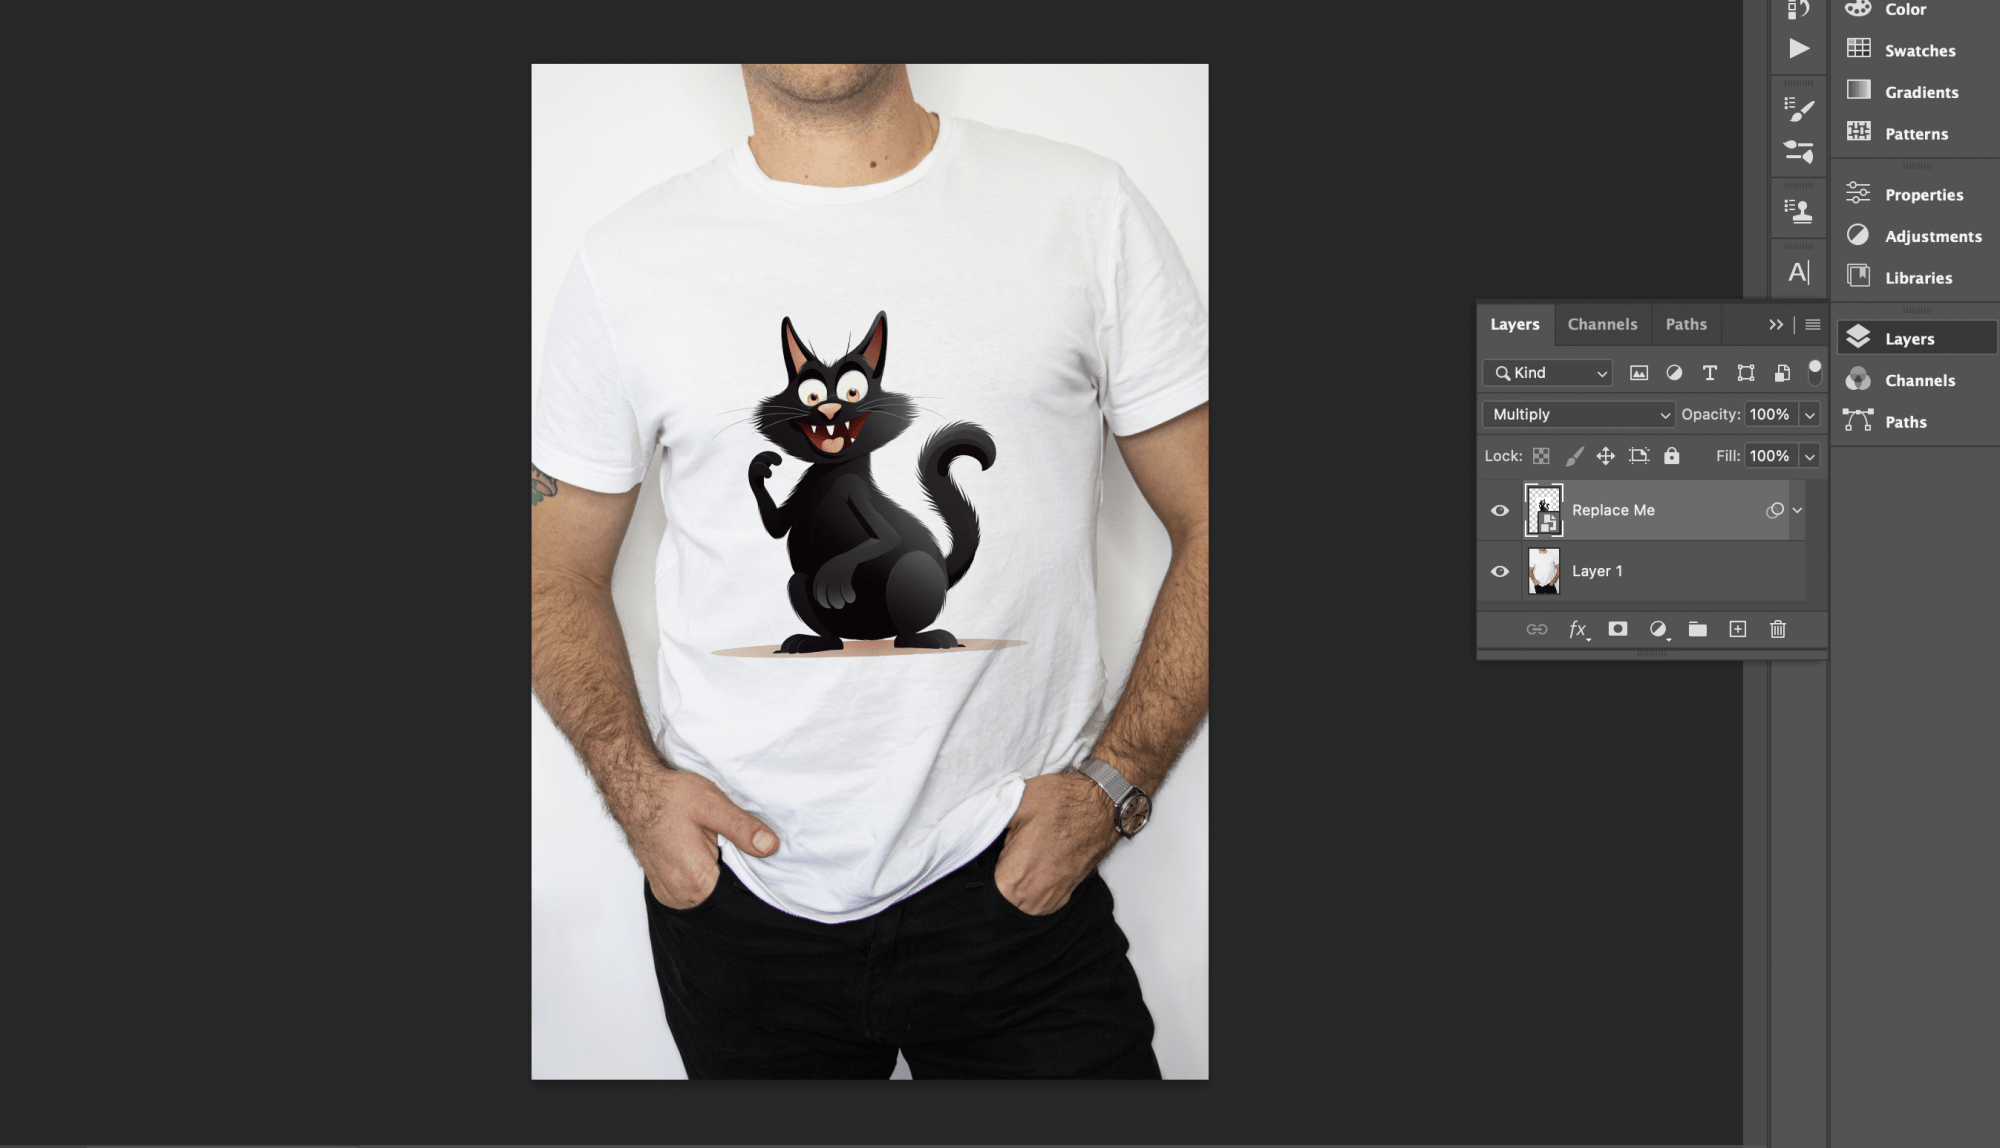
Step 4: Locate the Smart Layer
In the Layers panel, find the Smart Layer associated with the editable object in the mockup. It’s usually labeled as “Your Design” or “Replace Me.” Smart Layers are easily recognizable by the distinct Smart Object icon in the layer thumbnail.
Step 5: Edit the Smart Layer
Double-click the Smart Layer thumbnail to open the contents in a new window. Import your design into this window by going to File > Place Embedded or File > Place Linked. Adjust the size and position of your design to fit the mockup template. Save and close the Smart Layer window by clicking the “x” in the top-right corner.

Step 6: Observe the Changes
Return to the main mockup window, and you’ll see your design automatically applied to the mockup, maintaining the correct perspective, lighting, and shadows.
Step 7: Customize the Mockup
Feel free to customize the mockup further by adjusting other layers, such as background colors or textures, and toggling visibility of optional elements.
Step 8: Export Your Final Design
Once you’re satisfied with the result, go to File > Export > Export As or File > Save As to save your final mockup in the desired format (JPEG, PNG, etc.).
Now you know how to use Smart Layers in Adobe Photoshop to create professional mockups with ease. Explore our wide array of free mockups on Mckups.com and streamline your design process today. Don’t forget to bookmark our site and check back frequently for new additions to our ever-growing collection of free resources.